Enormous note: Games Workshop have changed their paint system while I have been away and sadly I have run out of some of the colours I needed. I asked some chap in a Games Workshop store if he could get me the new equivalents and he had a handy guide. Sadly, upon buying and using these new paints it appears as though they aren't exactly the same, so there is now some colour variation in the Strelkovy Company. The new colours are in brackets after the old one.
Step one, undercoat and basecoat: I undercoat the figures with watered down black after mounting them on bases with blutac. Then I basecoat the figures with Scorched Brown (Stirland Mud) which acts as a shade tone for the entire model. Furthermore, most colours adhere quite happily to the brown, whereas black isn't so forgiving.
 |
| The group of figures I am painting undercoated. |
 |
| Basecoated. |
Step two, skin: Given that the skin is often the "deepest" part of the model I start here. I use Foundry Flesh, the "B" tone, straight onto the brown basecoat, but taking care to leave the recesses dark. I focus on the nose, chin and cheekbones, and on the hands I take care to leave shading between the fingers. Again, leaving the dark brown is key. I used to use a inking technique, but I find on 15mm figures there just isn't enough depth to really make it work.


Step four, belts and satchels: These are painted Kommando Khaki (Karak Stone). If the figure has a canteen or pot or something metal, I quickly blitz these with Foundry Metal B.
Step five, the rifle: I start by painting the metal parts of the rifle Metal. After this I use Foundry's Spearshaft B for the stock. The rifle sling is touched up with Scorched Brown if necessary. Since I have the Scorched Brown out I paint the bedrolls as well.

Step six, helmet and boots: The final step is to paint the helmet Catachan Green (Waaagh Flesh) and the boots black.
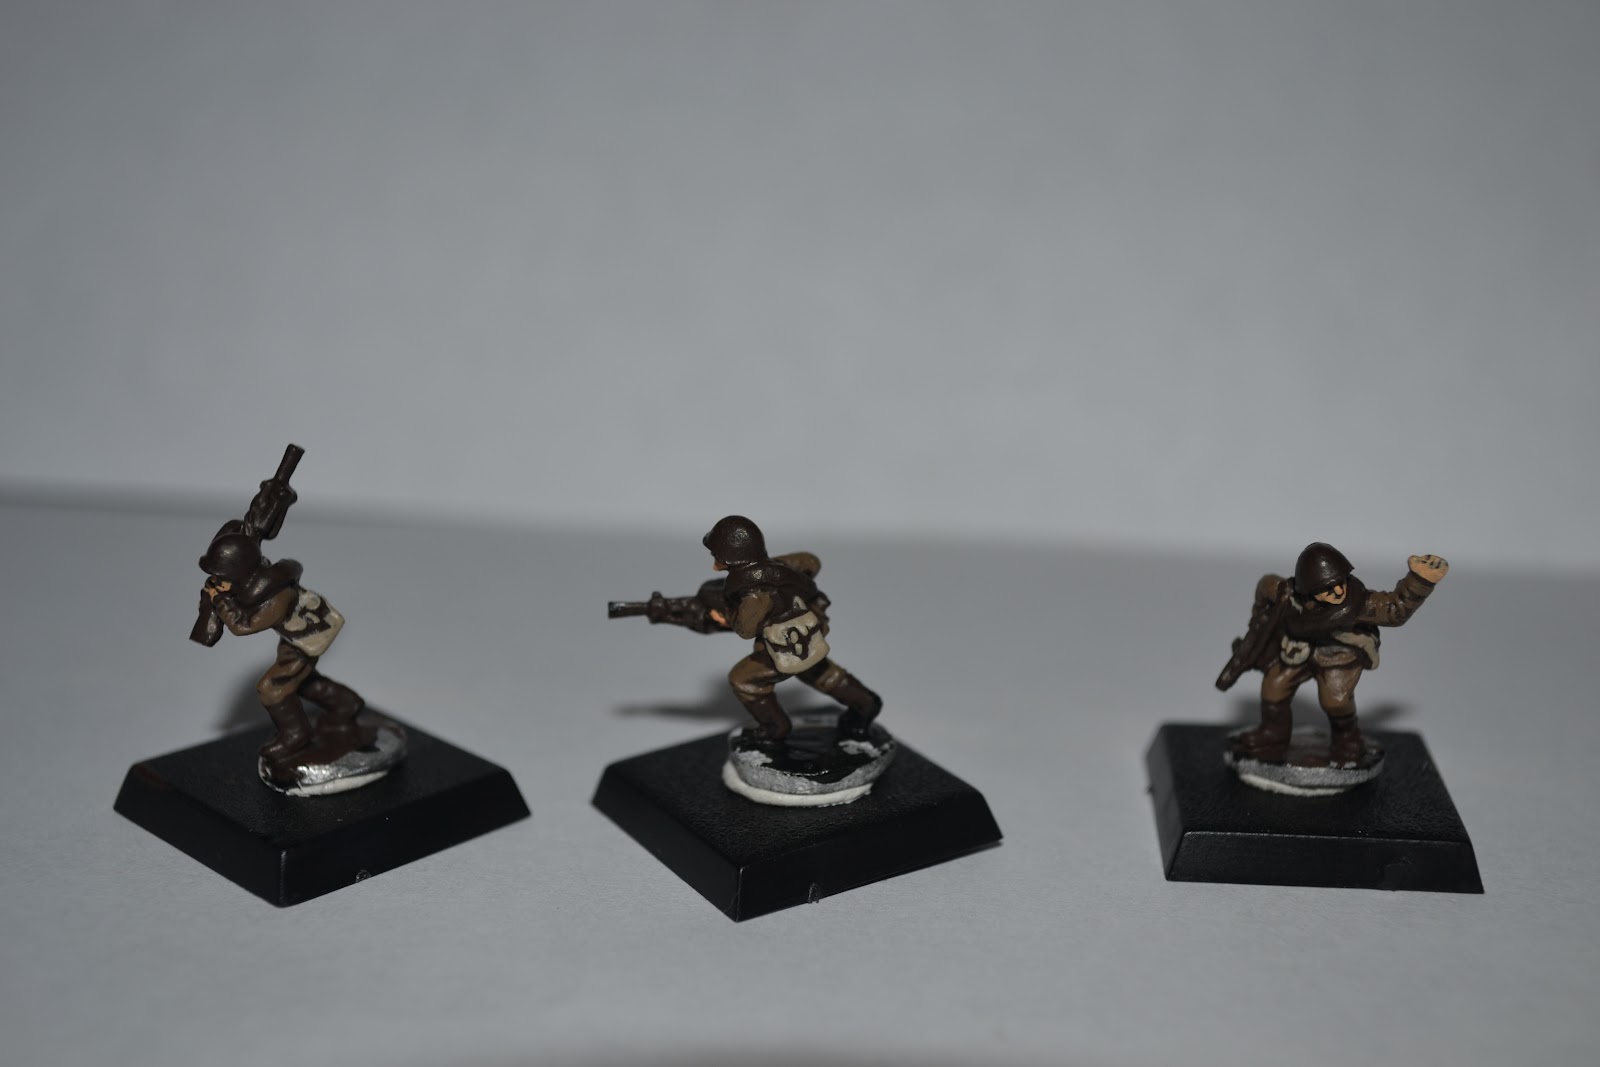
 |
| Fin. |
No comments:
Post a Comment